Saturday, December 27, 2014

Navidad Chicken Enchiladas

This year was a big year for my hubby & me. We celebrated 20 years of meeting & dating! We met right before Christmas & went on our first date the day after Christmas. Isn't that sweet?

We were reminiscing about that time when it was brought up how giddy I was that I got a call from him on Christmas day! *SWOON* And I vividly remember him talking about what his family was having to eat on Christmas: Enchiladas.

Folks, there is not a drop of Mexican blood in him. So I told him, as we reminisced, about how weird I thought he & his family were for being so non-traditional. HA!!

What made this reminiscing conversation so funny was the fact that, 20 years later, we had decided that enchiladas for Christmas would be the easiest...especially since everyone on his side of the family loves them, too. Even funnier? It was MY idea to have the enchiladas!

Something we decided to try, quite some time back, was chicken enchiladas. His family has always done ground beef ones, so venturing to something a little better for us was taking some thinking. We also decided to add sour cream to them for an added layer of flavor. We love them!! But with us taking up running & trying so hard to be better, we bumped up the nutritional factor. Even for Christmas!

Not only did we make them slightly better for us, they also looked delightfully festive!

So, for our own Fiesta Feliz Navidad, here's what we did:


**********


NAVIDAD CHICKEN ENCHILADAS


Ingredients:

* 2 lb chicken breasts (thawed if frozen)
* 2 pkg McCormick's original taco seasoning (less sodium version)
* 1 1/2 C chunky salsa or picante sauce
* 1 T liquid smoke (optional)
* 1 pkg of 6 Mission Spinach & Herb tortillas (yes, they are green)
* 2 pkg McCormick's enchilada sauce mix (to package directions)
          * 1 can tomato sauce
          * 3 C water
* apprx. 1 1/2 C Nonfat Greek yogurt, plain
* 2 C sharp cheddar cheese, shredded
* 2 C mozzerella cheese, shredded


Directions:

1. In your trusty lazy cooker, spray the insert with cooking spray, then place the fresh or thawed chicken breasts into the lazy cooker insert.

2. Sprinkle the chicken with the contents of the taco seasoning packets (or you can use your own seasoning).

3. Pour in the salsa or picante sauce, along with liquid smoke (if using).

4. Close the lid & allow to cook for at least 6 hours on low or 3 hours on high.

5. At the end of the cooking time, open the lid & stir the mixture until the chicken is broken up into tiny pieces & at least most of the liquid as disappeared.

6. Preheat oven to 350 degrees F.

7. With the enchilada packets, water & tomato sauce, make the enchilada sauce to package directions.

8. In a 9x13" cake pan, coat all of the inside with cooking spray, then ladle in some of the enchilada sauce to just cover the bottom of the pan.

9. Open the Greek yogurt & make sure it's stirred well, and then open the package of spinach & herb tortillas.

10. Take one tortilla, spread one side liberally with Greek yogurt (I use a rubber spatula).

11. Hold the coated tortilla by an edge, cupped in your hand, yogurt side up, then scoop some of the chicken mixture into the tortilla cupped in your hand, then it becomes easier to roll.

Photo for technique reference


12. As stated in the last step, begin to roll the tortilla from the cupped side to the other, then place outer flap side down into the pan, all the way against the 9" side, and press firmly into the sauce.

13. Repeat steps 10-12 until all 6 tortillas are coated, filled, rolled & placed side-by-side in the cake pan, pressed firmly into the sauce at the bottom of the pan.

14. Once all 6 tortillas are filled, rolled & are laying, hopefully tightly, into the pan, cover the enchilada rolls with more of the enchilada sauce.

15. Take the 2 cups of either the cheddar or mozzarella cheese & cover the entire top of the enchilada surface.

16. Repeat step 15 with the other 2 cups of cheese.

17. Place in the oven for 20-25 minutes, until all the cheese is perfectly melted.

18. Pull the pan out of the oven, then cut the enchiladas down the middle (short side to short side) so that 6 large enchiladas become 12 smaller enchiladas.

19. Serve up 2 halves at a time.

20. Consume the deliciousness!


Yield: 6-12 (depending on how you serve them up)


**********

We have usually made these, like I stated before, with sour cream & in either flour or whole wheat tortillas, which you can certainly use! Lately we have switched out the sour cream with Greek yogurt, and we love it! Also, the spinach & herb tortillas not only added beautiful festive color to our Christmas dinner, but gave yet another layer of flavor that was awesome!!

As a note: My hubby & I work as a team on these at assembly time! I coat the tortillas with the Greek yogurt/sour cream, then he takes them to fill with the chicken & roll them to put in the pan. If you have someone to work with you on these, do it!

We only made one pan & didn't have any left.

There were ground beef enchiladas, in flour tortillas, also served up. So we had a delightful variety for our fiesta de Navidad! Even this filling option for those who still wanted to try to be good with their eating during the holiday.

I seriously cannot wait to do this version of this chicken variety again! So. Good.

These are also perfect for Cinco de Mayo, Grito de Dolores, Dia de los Muertos, or any time you want or need a Mexican fiesta, like Navidad. You can also use any of these recipes HERE!

Hope you had the merriest of Christmases with loved ones, and may the new year be a blessed & prosperous for you!

** If you want to look ahead to a perfect New Year's Day dish, try my NEW YEAR'S HAM & BEANS!

ENJOY!

Thursday, November 27, 2014

Thanksgiving Sangria

This year was the first year my hubby & I hosted ALL of Thanksgiving.

For the last several years, we have hosted my side for brunch, then we head out to his side for the afternoon/evening feast.

This time, we had the brunch with my side AND the afternoon feast with my hubby's side at our house. Worked for us! We didn't have to go ANYWHERE!! We took care of the large portion of the brunch, then we switched gears & cooked the meats (turkey and ham), I made the green beans in a deconstructed green bean casserole, hubby made his late father's jello salad, and I made my holiday cranberries (recipe HERE).

I had come across several beautiful drinks that folks had made for their own family feasts. Sangrias seemed to be a perfect topper to the dinner, and I'd had a lovely sangria at my hubby's & my favorite restaurant a few months ago. So I decided that we needed to keep chilled out with the family. I tend to stress out with so much prep, so I had hoped to chill myself out, mostly, and anyone of the big kids who wanted to join in, too.

I researched several fall sangria recipes, like I do, and came up with this:


**********


THANKSGIVING SANGRIA


Ingredients:

1 bottle Riesling
1/2 C apple juice (optional...cuz I just needed to empty out the jug & it worked)
1 1/2 C apple cider
1 1/2 C cran-apple juice
1 bottle sparkling apple cider
1/3 C granulated sugar
about 1 C fresh cranberries (or about half a bag)
1 red apple (your choice - I used Red Delicious), cored & chopped
1 yellow apple (like Golden Delicious), cored & chopped
1 pear (I used apple pear), cored & chopped
few sprigs fresh rosemary

1 can or bottle hard cider (added at the last minute)


Directions:

In a large pitcher (I used a gallon-sized pitcher), add all of the ingredients, minus the hard cider, stir well, cover with a lid, plastic wrap or foil, then let it steep in the refrigerator for several hours.

Right before serving, remove from the fridge, add in the hard cider CAREFULLY and slowly (I used Redd's Wicked Apple Ale). Give one more good stir.


Into cups or wine goblets, it would be easiest to ladle in the sangria & some fruit rather than pour from the pitcher. 

This is a good, big batch for a large group of people. 


**********


I was so hoping it would turn out OK. I've never done a sangria before. Before I could do some quality control, there were already a few diving right into it! And then I could hear them saying, "Mmmmm!! This is really good!!" And I know it must've been true since they went back for more! I did, too.

Note to self: start the sangria steeping the night before so there's an even better blend of flavors. I'll keep it in mind as I plan my Christmas sangria!

 Definitely a new tradition for the feast!! *CHEERS*


ENJOY!

Tuesday, September 9, 2014

Sopapilla Icebox Cheesecake

WOW! The Strawberry Icebox Cheesecake I made a few days ago went over SO well (recipe HERE), it actually inspired me to try to make more icebox cakes.

With the cheesecake mix I made, along with the graham crackers, I got thinking about another icebox cake to give a whirl. I was trying to find a good recipe for what I wanted to do..but alas...and as usual...nothing came up. So, I decided to give this super easy, still healthy, and Mexican-dessert-inspired icebox cake!

Here's what I did:

~~~~~~~~~~


SOPAPILLA ICEBOX CHEESECAKE


Ingredients:

* 1 32 oz. tub of Fat Free Greek Yogurt - Vanilla
* 2 boxes sugar free/fat free cheesecake Jell-O instant pudding mix
* 9 cinnamon graham crackers - halved (to make 18 squares)
* 1 8 oz. tub fat free Cool Whip topping, thawed
* 2-3 T honey
* 1 t cinnamon (for topping)


Directions:

1.In a large mixing bowl, combine the entire tub of Greek yogurt & both boxes of pudding mix; stir well (it will be VERY thick)

2. Lightly spray a baking or trifle dish, about 8x8, with cooking spray (either butter or vegetable)

3. Line the bottom of the dish with 9 graham squares, cinnamon side down

4. CAREFULLY use a spoon or spoonula to spread all of the cheesecake mixture over the top of the graham layer; don't forget this mixture is THICK, so spread carefully

5. Once all the cheesecake mix is spread into a thick layer, take the other half of the graham squares and lay them on top, cinnamon side up

6. Add the honey in with the whipped topping, stir very well until well blended

7. Spoon and spread the honey-flavored whipped topping over the top graham layer until completely covered

8. Sprinkle cinnamon over the top the whipped topping layer (I also added some of the stray graham crumbs to the top, too)

9. Cover & place in the refrigerator for at least 3 hours, and probably up to 12 hours; usually it would be in the fridge overnight - just let it all soak & allow the graham crackers to make a soft crust

10. Serve


Yield: about 9-20 (depending on how small you make the pieces)


** NOTE: If you feel the cheesecake mixture is TOO thick to work with, add about half a cup skim milk to help thin it out & still not take away from how good it is for

Also, if you want to use just the whipped topping for the top layer & just drizzle the honey over each piece, you can certainly do that. I won't be there to stop you.

~~~~~~~~~~

This went over pretty well! It was a good fit to finish off some grilled Mexican Chicken that my hubby fixes. My youngest liked the strawberry version better, but still was good overall.

With it being Mexican-inspired, I say make it to serve for Cinco de Mayo (perfect warm-weather dish), for Dios de los Muertos, your Navidad get-together...or anytime you feel like throwing this super easy dessert together along with any of these Mexi-dishes (HERE)!!

ENJOY!

Strawberry Icebox Cheesecake - A Healthier Take

The last several months, I have been trying to find more super-easy, total fake out kind of recipes for meals or desserts.

Pinterest is the PERFECT place to go, of course. And I also wanted some simpler-times type of old school inspired stuff to try. The very June-Cleaver-type of appearance...but with the "I Love Lucy" kind of outcome/spin. That's kind of how I work!

I discovered these old icebox cake recipes. I hadn't had a chance to make any yet, but was so wanting to try at least one! So, I started searching out several.

You know what? So many I found used cookies, pudding/custard, candy...all the makings for guilt-induced feelings from gorging on something SO decadent! And...I've got a weakness for decadent.

What could I do to make this decadent dessert not make me feel so bad for all the hard work I've been doing with getting in shape & running. I don't want to feel like I need to run 10 miles to work off a scoop of dessert, especially when I've barely run 5 miles at once.

We are trying to eat better at our house, anyway. So, I begin to plan what this super easy & relatively good-for-you dessert might actually look like.

Well, here's what I did:

~~~~~~~~~~


STRAWBERRY ICEBOX CHEESECAKE
A Healthier Take


Ingredients:

* 1 32 oz. tub of Fat Free Greek Yogurt - Vanilla
* 2 boxes sugar free/fat free cheesecake Jell-O instant pudding mix
* 9 low fat honey graham crackers - halved (to make 18 squares)
* 1 32 oz. tub of frozen sliced strawberries in sugar, thawed (the only bad part of the whole thing)
* 1 8 oz. tub fat free Cool Whip topping, thawed
* several strawberries, rinsed & halved (optional for topping)


Directions:

1.In a large mixing bowl, combine the entire tub of Greek yogurt & both boxes of pudding mix; stir well (it will be VERY thick)

2. Lightly spray a baking or trifle dish, about 8x8, with cooking spray (either butter or vegetable)

3. Line the bottom of the dish with 9 graham squares

4. CAREFULLY use a spoon or spoonula to spread about half of the cheesecake mixture over the top of the graham layer; don't forget this mixture is THICK, so spread carefully

5. Spoon about half of the sliced strawberries in their syrup over the cheesecake layer; try to make it as even as possible

6. Repeat steps 3-5

7. Once all the layers are in the dish, spoon & carefully spread the whipped topping over the top strawberry layer

8. If using fresh strawberries for the top, rinse & cut in half or into quarters & arrange on the whipped topping layer as desired

9. Cover & place in the refrigerator for at least 6 hours, and probably up to 12 hours; usually it would be in the fridge overnight - just let it all soak & allow the graham crackers to make a soft crust

10. Serve


Yield: about 9-20 (depending on how small you make the pieces)


** NOTE: If you feel the cheesecake mixture is TOO thick to work with, add about half a cup skim milk to help thin it out & still not take away from how good it is for

~~~~~~~~~~

See? Pretty, delicious, and you won't feel guilty about having a big piece of this!

And it went over SO well!! A total win!

It's also given me inspiration to try another like this. When I make it, I promise to share!

ENJOY!

Monday, September 8, 2014

Fish Schlop (Ship-Schlop)

One of these days, I want to make a simple Irish stew, Fish Coddle. If you've ever seen pictures of it, it's beautiful! But it's supposed to be super messy to eat as you use whatever seafood you have around...and it tends to include oysters, mussels, lobster claws, crab legs, etc. Yes, a lot of shell fish. And it's served up WITH the shells!

I don't have shell fish just laying around like that. And I'm not going to pay that much more to stock up on crab, lobster & oysters to make it. Not right now, anyway.

I still love Dublin Coddle (click for my recipes I've done HERE), but we had some frozen fish that I wanted to use. We are trying to pick up eating seafood a bit more habitually, so I wondered how this would turn out.

This would also be awesome for International Talk Like a Pirate Day (September 19th), too (like what I've done before HERE)! So would the Fish Coddle, but if "...nobody ain't got money for that," maybe give this a try! I used the Fish Coddle as a base (HERE), and here's what I did:

~~~~~~~~~~


FISH SCHLOP
(SHIP-SCHLOP)


Ingredients:

1 carton vegetable or seafood stock/broth
1 big splash lemon juice or juice of 1 lemon
2 medium carrots, diced
1 rib celery, diced
1 small potato (russet, sweet, etc.)
1 small onion, chopped
2 tsp sea salt
2 tsp pepper (black or white)
Seasonings of choice (parsley, rosemary, thyme, garlic powder, chives, etc.)
1/4 pound-ish of shell-less seafood: fillets, shelled shrimp, shelled crab meat, etc.


Directions:

* pour contents of the broth/stock carton into a large saucepan

* add in the lemon juice, salt, pepper & seasonings, bring mixture to a boil

* add in carrots, celery & onion to the pot, and simmer for about 20 minutes or until veggies are tender

* During the last 5 minutes, add in the seafood & allow to cook thru...but do NOT over cook! 5 minutes is about as long as you need.

* Top with a sprinkling of parsley flakes/leaves & serve with bread of choice

Yield: 4-6

~~~~~~~~~~

Super easy to make, especially if you want to use up that little bit of frozen seafood you have in your freezer. It's really light, and good for you! Did I mention the nourishment? Well, you get that, too!

Great for a lunch on a cool day, for sure. I sure liked it!

ENJOY!

Thursday, July 31, 2014

Traditional Irish Soda Bread - Lazy Cooker

I'm all about getting traditional foods right. Like Irish food.

I have done some Irish & semi-authentic Irish fare (click HERE for recipes), and I had the itch to fix up a meal again. Yes, in July.

Now then, the last couple of St. Paddy's Day meals haven't included Irish Soda Bread for one reason or another. But I now have a solution! Make it in the lazy cooker!!

You cannot imagine how stoked I was to find some recipes for the lazy cooker. But most of them had the recipe ingredients WRONG! Irish Soda Bread is a mere 4 ingredients. It is said that if you add eggs, it's cake; if you add sugar, it's cake; if you add butter, it's probably cake. So I took the simplest & traditional recipe and did this:

~~~~~~~~~~


IRISH SODA BREAD
Traditional Recipe - Lazy Cooker


Ingredients:

* 4 C all purpose flour, plus some extra
* 2 tsp baking soda
* 1 tsp salt (table, kosher, sea - I used sea salt)
* 2 C buttermilk (or 2 C milk with 2 T vinegar - let set for 5-15 minutes before using)


Directions:

- In a large bowl, mix the 4 C flour, baking soda & salt together

- Make a well in the dry ingredients, and pour in the buttermilk

- Stir it all together until it is a sticky ball of dough

- Take the dough & place it on a flat & lightly floured surface (this is the extra flour)

- Lightly knead the dough into a ball & slightly flatten

- Lightly spray the insert of your lazy cooker with cooking spray
          + NOTE: you can also lightly spray or grease a pan if it fits into your lazy cooker.
                          Check out the fit first, but the pan isn't needed.
                          Also, I used an older, round lazy cooker. Most are oval now & can be used.

- Place the dough ball into the lazy cooker

- Take a knife & make 2 long cuts, forming a cross on top of the dough ball, extending over the edges; make the cuts about a half to 1 inch deep

- Place the lid on the lazy cooker, make sure it's plugged in & set on low for 1 hour
- After 1 hour on low, turn the lazy cooker setting to high for another hour to hour & a half
(Or you can set on low for 4 hours)

- Turn off the lazy cooker, and carefully remove the bread from the lazy cooker insert onto a cooling rack or plate & allow to cool for a short time (you want to serve the bread warm)

- Serve 

* Can easily serve 8-10

~~~~~~~~~~


A couple of other recipes I had come across called for 1 & 3 quarters cups buttermilk. It wasn't enough & wish I had bumped it up to the 2 cups, so I put it in this recipe. 

You know what? This was a HUGE hit! My kiddos couldn't get enough of it, my hubby loved it, my parents couldn't get over it, and I was so stoked with how it turned out!! The texture was divine & was perfect for the meal.


SO simple, people! Nothing to complicate anything. Easy recipe, and let the lazy cooker do the rest. You will NOT be disappointed!

And I can now be sure to work it into my future St. Patrick's Day feasts. I'm delighted!

ENJOY!

Thursday, June 12, 2014

Easy-Parm Cheesy 15-Minute (or less) Meal

We had just come back home from a long weekend out of town the afternoon beforehand. We hadn't been to the store yet. There was nothing for dinner. Oh yeah...we were short on time as it was getting fairly late. Plus, my hubby had a meeting to be at that evening. Time was short & of the essence!

I decided I would head to the store & figure out something I might be able to do quickly. Pasta is a pretty good dinner to fit that, and the kiddos are all OK with that meal, too. So, I went shopping.

Since we try to save money, too...I headed to our local Walmart. *sigh* You know what? They were out of several things we would usually have with our bi-weekly pasta dinner. Figures. I'd already picked up many of the items, so I didn't want to put everything else back. We would use it eventually. So, even in my exhausted, welcome-back-to-reality state of mind, I had to think quickly of what I could get that I could throw together & make sure the whole family had SOMETHING! And the brain wheels began to turn...

Knorr's has started touting using their side products as main dishes. Just a few additions, badda-bing, badda-boom, badda-dinner! We have Knorr's Sides often enough & really like them! Plus...they are only $1.00 per package at Walmart. So, I stuck with the pasta idea & got the Parmesan version of the side. And then I built up a speedy quick meal that was pretty, delicious, pretty delicious, and FAST!

Here's what I did:


~~~~~~~~~~


EASY-PARM CHEESY 15-MINUTE (or less) MEAL
(from start to finish)


Ingredients:

~ 2 pkg Knorr's Pasta Sides: Parmesan
~ 1 pkg smoked sausage, sliced (we used turkey with a non-pork eater)
~ 1-2 red bell pepper, rinsed, deseeded & thinly sliced *
~ 1 bag green beans (to be steamed, so we got pre-packaged for time)
~ 1 loaf Italian bread from the bakery


Directions:

Read directions on the package of Knorr's; since using more than one package, use slightly less of water & milk asked for (I used 3 packages, so I tried to adjust as such)

Slice the sausage, into about 1/2 inch slices, and slice the bell pepper into strips

When placing the liquid in the large pot to begin boiling, keep an eye on it while preparing other to fix the other ingredients

Start heating a large skillet on the stove & place a table spoon of olive oil or spray with olive oil cooking spray to coat

Turn your oven on the high setting of broil, and * place your bell pepper strips in one layer on a lightly sprayed baking sheet, drizzle with olive oil & sprinkle with sea salt (or table salt if you don't have sea salt)

Prepare to get your green bean bag into the microwave

By now, your liquid should be boiling, your skillet should be good & hot, and your oven should be ready...

Open your Knorr's envelops & empty them into the boiling liquid, stir and let sit, but make sure to stir once in a while so the pasta doesn't stick to the bottom of the pot

Place the sausage slices into the skillet for a couple of minutes. Turn them once in a while being careful not to burn them.

Put the baking sheet of bell peppers into the oven to roast for just a few minutes; turn on the oven light to keep an eye on them to make sure they don't get too dark...but you want them deliciously tender

Start your microwave & steam those green beans for about 7 minutes


OK...everything is good & going now! The pasta, sausage, peppers & green beans have all been started about the same time!

Take these 7-ish minutes to slice your bread to the thickness you desire. Unless you bought pre-sliced. If that's the case, it's one less step!

After about 5 minutes, your pasta may be good & tender (check to make sure); remove from the heat, give a quick stir & allow to set for a couple of minutes.

When the green beans are done (you'll know with the microwave probably telling you), you can turn off the heat to the skillet & pull out the bell pepper strips from the oven.

Guess what? BOOM! Dinner is DONE! The meal is ready to serve: Plate it up with a few sausage on the pasta (or you can mix them together), get some peppers & green beans on that plate, and then add a slice of bread. Bing-Bang-Beautiful!

~~~~~~~~~~

It seems like a lot going on up there, but prep time probably only takes 5 minutes & you can have everything else done & served up in the next 10 minutes! You may not even need the whole 15 minutes! I even made a gallon of stove-brewed tea in that time, too!

And, it's not horrible for you, either.

It smelled great, it tasted great & there were hardly any leftovers! I think it was a winner-winner-pasta dinner!!

I'm now excited to play with some more of Knorr's sides to see what I can make for another speedy-quick dinner!

Game On!

ENJOY!

Friday, March 28, 2014

An Irish & Irish-Like Feast

When St. Patrick's Day rolls around, I do try my best to serve up something that is authentic to Irish cuisine...or at least Irish-like.

I'm not sure why Americans cannot seem to grasp that corned beef is NOT Irish, but it has to stop!

I have had people shocked that I don't like corned beef. They figure if you have Irish decent within you, then you should enjoy some corned beef. Sorry folks...that stuff makes me gag. But I can enjoy some serious potatoes!

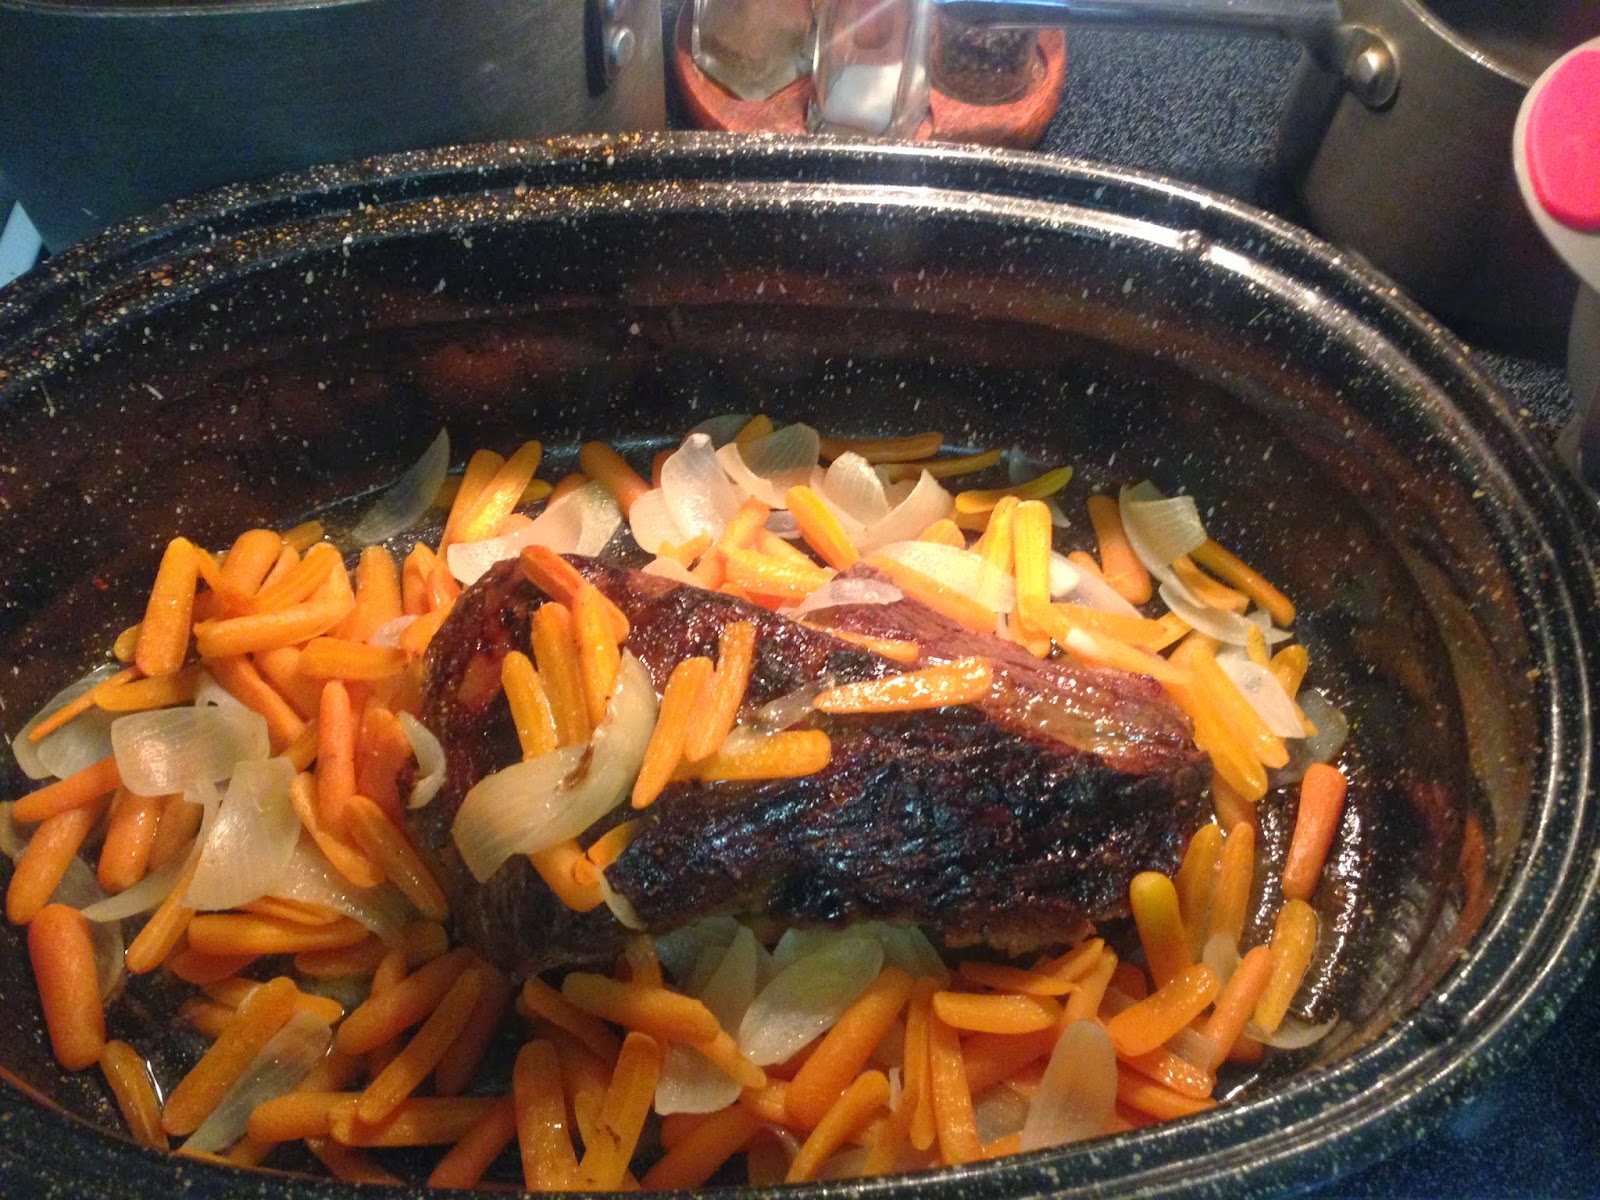
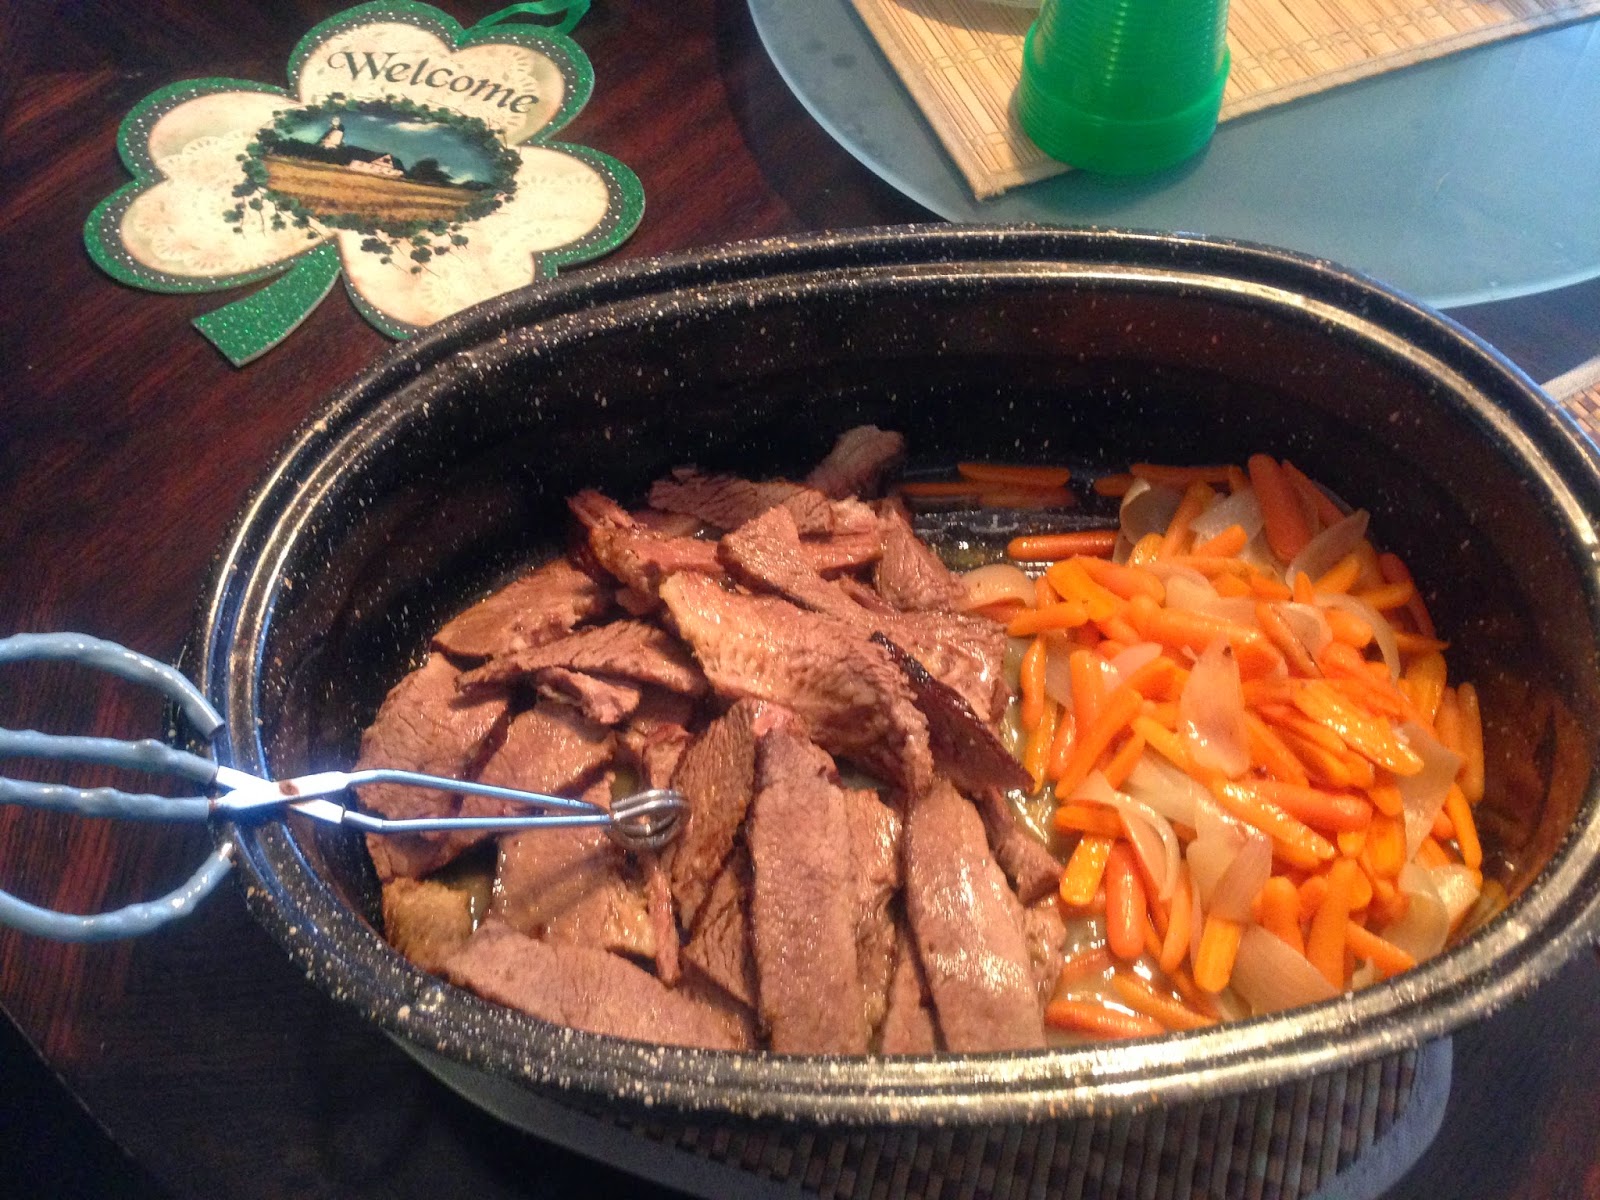
However, when St. Paddy's Day rolled around, I have been searching for a recipe to fix that everyone will actually enjoy. Much of the meat eaten in Ireland is generally pork or lamb. I haven't found a lot of lamb around here, and we have a non-pork eater. So I had to revert to beef. Not corned beef, but a good brisket. I know beef is more rare, but I found this Irish-pub style orange beef recipe that I was hoping would go over. (recipe HERE)


You know what? We only had 2 slices of beef left...so the dog got to enjoy some St. Paddy's Day fare, too! I think I want to add a bottle of Irish ale to the liquid in the cooking process, next time, for an added layer of Irish flavor.

~~~~~~~~~~

I also made some colcannon for the first time! And I did mostly use this recipe, HERE, that I found. But I did change up a couple of things, so here's what I did with the colcannon:


IRISH COLCANNON

Ingredients:

3 lb Yukon or buttery potatoes (I found golden butter potatoes)
1/2 C cabbage slaw mix (mine included green cabbage, red cabbage & carrot)
1/4 C kale leaves, chopped or torn into pieces (I've also used turnip greens)
2 T dried chives
1 stick butter
1/4 C buttermilk
sea salt
white pepper


Directions:

~ Rinse & lightly scrub potatoes

~ Cut each potato into 6-8 cubed pieces - I left the skins on for texture & as a time-saver ( like the more rustic feel & look, anyway)

~ Place the pieces into a large pot, cover with water

~ Bring the water to a boil & then turn down to simmer until potatoes are tender

~ When potatoes are tender, drain the water & transfer potatoes to sprayed lazy cooker insert

~ Add the other ingredients to the potatoes in the lazy cooker, close the lid & set on high for about 2-4 hours

~ After 2-4 hours of cooking, lightly smash & stir the potato mixture until blended, but still chunky

~ Serve


I want to tell you that this has a taste like a loaded baked potato. Just add some bacon bits & cheese...and BOOM! Loaded smashed potatoes! These were a total hit! I was SO happy with how it turned out.

~~~~~~~~~~

I also offered up some slaw. I have tried to modify a tried & true sweet slaw recipe...but it never turned out quite right.

Since we were having some family over to enjoy the meal, I decided to have 2 slaws on hand. We found a great KFC copycat recipe on Pinterest (recipe HERE), and I have since handed it over to my daughter to make. She does a GREAT job with it!

But I know there's a mustard-dill slaw that is very Irish. So I found a very workable slaw recipe (HERE) to make a non-sweet slaw. And I did make my own modifications, plus I didn't need as much as the recipe called for.

Sweet KFC copycat slaw, above; mustard-dill-vinegar slaw, below
MUSTARD DILL VINEGAR SLAW

Ingredients:

1 bag cabbage slaw mix
1/8 C minced onion
2 T garlic powder
3/4 C Miracle Whip with olive oil
1/4 C French's honey dijon mustard
1/4 C distilled white vinegar
1/4 C apple cider vinegar
3 T white wine vinegar
3 T buttermilk
1/4 t sea salt
1/4 t freshly ground black pepper
1/8 t celery seed
2 T dried dill weed


Directions:

~ In a large bowl (preferably with a tight lid), place all ingredients except the slaw mix, stir well

~ Add in the slaw mix to the bowl

~ If you have a lid for the bowl, close the lid & shake it up very well
~ If you do not have a lid for your bowl, mix with a large spoon very well & then cover with foil or plastic wrap

~ place in the refrigerator for at least 2 hours before serving...but is better if done a day before

~ Serve


I placed my slaw in a great pottery dish that I used for my Irish Bread & Butter Pudding (recipe HERE). It was actually very good! If you do not like a sweet slaw...try this one!! It has pretty good bite to it, too!

~~~~~~~~~~


I was truly disappointed that I did not have time to make traditional Irish soda bread. Something had to be cut when I tried to make some oatmeal cookies. Something went horribly wrong with the cookie recipe, apparently, and they melted all over the inside of the oven. I had to stop baking operations to cool & clean the oven, so it cut into times to get food done. I was bummed!

~~~~~~~~~~

Irish Cream Apple Cake & Erin's Lush Pie


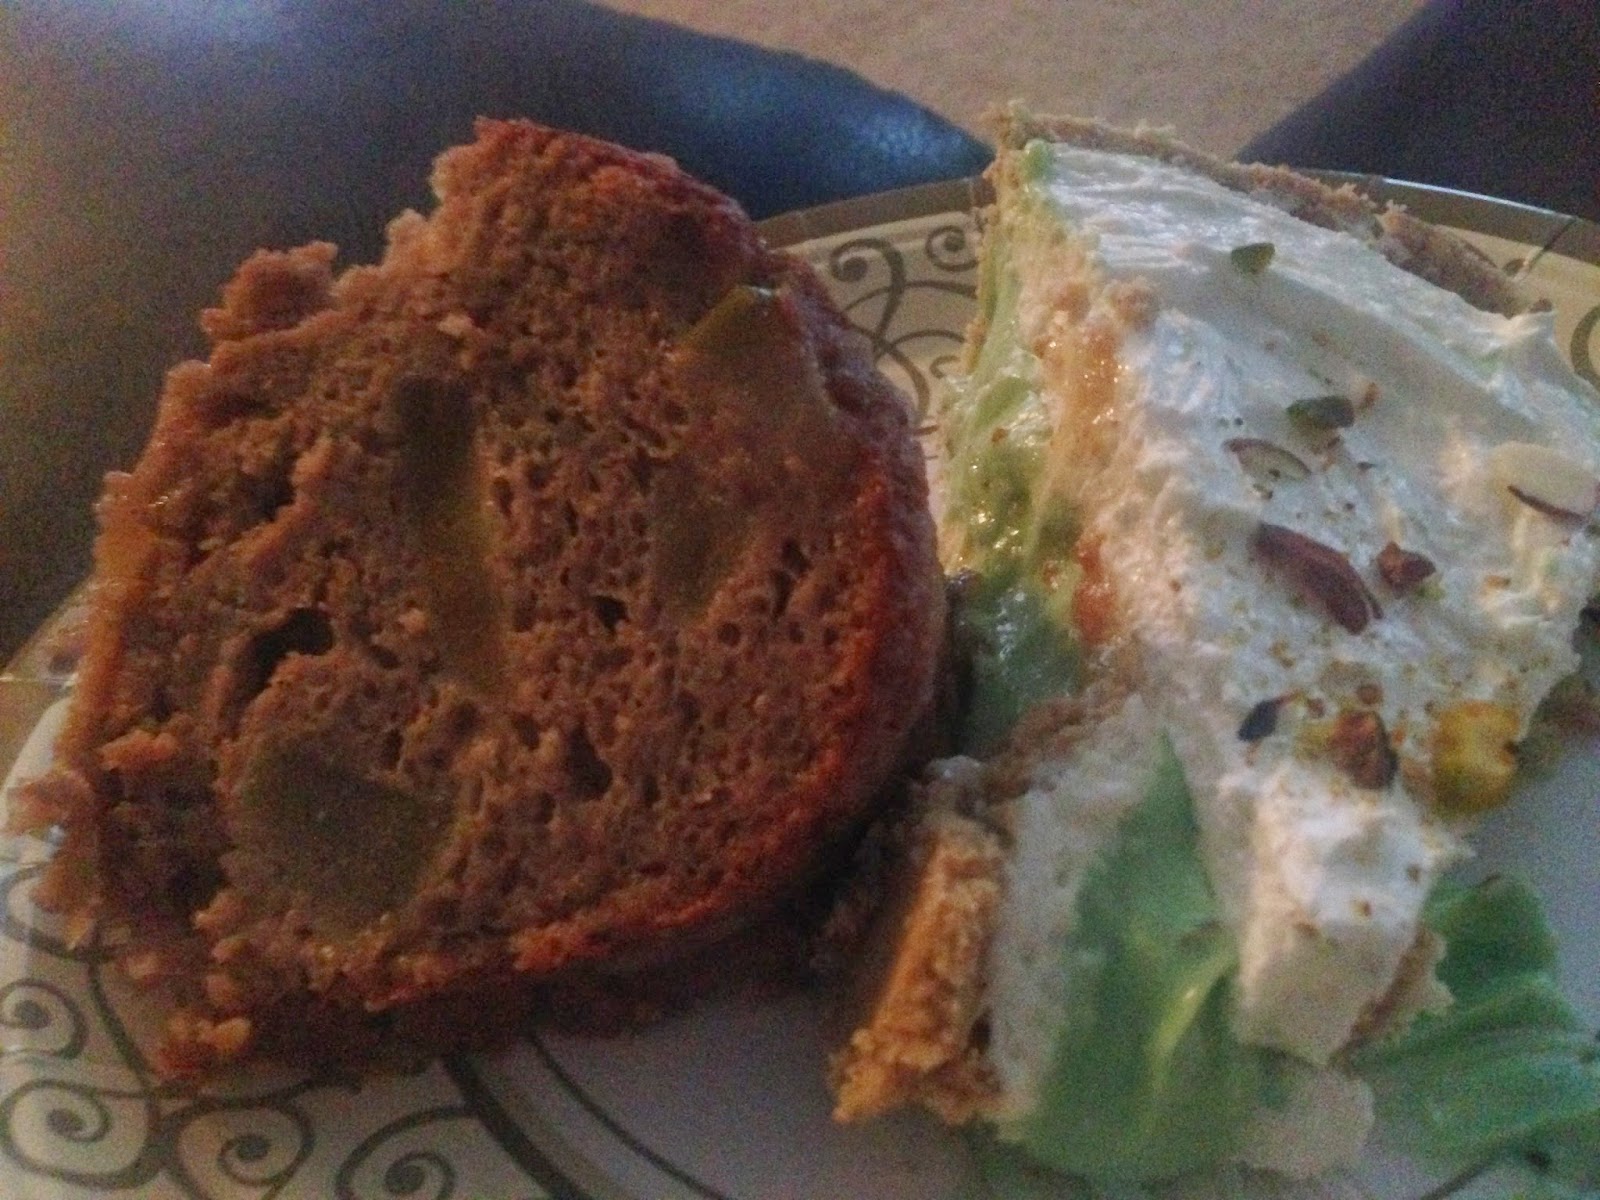
However, I had to make dessert! So I did my Irish-inspired apple cake (recipe HERE) & the glaze (recipe HERE) to go with it. But I, also, wanted to make my mom's tried & true St. Patrick's Day dessert go-to. I've seen it listed places as Pistachio Pudding Dessert (or something along those lines), but I grew up with it being called Erin's Lush. However...I had no time to bake the crust. So...I cheated it a bit & made it into a pie!


Slice of Irish Cream Apple Cake & a slice of Erin's Lush Pie


ERIN'S LUSH PIE


Ingredients:

1 large pre-made graham cracker crust
2 small packages pistachio pudding mix
2 C Irish Cream Creamer
1 8 oz cream cheese brick, softened
1 8 oz tub whipped topping, divided
1 C powdered sugar
2 T crushed pistachio nuts, divided
1 T almonds sliced


Directions:

~ In a bowl, mix the cream cheese, powdered sugar & 1 C of the whipped topping together

~ along the bottom of the graham cracker crust, sprinkle about 1/2 of the crushed pistachio nuts

~ Carefully spread about 1/2 - 3/4 of the cream cheese mixture, evenly, on the bottom of the crust (if some of the nuts get mixed with the cream cheese mixture, it is fine)

~ In a separate medium-sized bowl, whisk both pistachio pudding mixes & the Irish cream creamer well, for about 2 minutes

~ Carefully add the pudding mixture on top of the cream cheese layer in the graham crust

~ Add what is left of the whipped topping with what is left of the unused cream cheese mixture & blend together

~ Carefully spread the whipped topping mixture on top of the pudding layer in the pie crust

~ Take the almond slices & what is left of the crushed pistachio nuts & evenly sprinkle on top of the whipped topping layer

~ Refrigerate for at least 2 hours before serving to allow to fully set

~ Serve


This pie is so decadent & fantastic! I did use pistachio nuts because of the pudding & they are green in color. I also used almond slices because they are my favorite. You can also use pecans &/or walnuts, instead.

This was SO good! And so easy!

~~~~~~~~~~


Some of the 21 & over aged kids did enjoy some Irish Ale from Boulevard, too.


I hope this has inspired your future Irish meals. Open your minds a bit & know you don't have to eat green potatoes with corned beef & cabbage to be considered an Irish meal.


I have a few other things that are Irish or Irish-inspired, HERE, also.

ENJOY!

Wednesday, March 12, 2014

Apple Irish Cream Cake Glaze

I always look forward to when I get to make my Apple Irish Cream Cake (recipe HERE). And I usually leave it alone since it's so pretty by itself...

Well, with St. Patrick's Day rolling around again, and we have a group coming to our house tomorrow night, I thought I'd make the cake for them.

As I did the cake this time, I realized something:
there is some ooey-gooey goodness from the apple slice marinade left in that bowl! So I decided I should use it! I decided to to make a glaze for the cake with it!

Here's what I did:

~~~~~~~~~~


IRISH APPLE CREAM CAKE GLAZE


Ingredients:

(leftover from the mixture from the apple marinade in the cake recipe)

1/4 C brown sugar
2 T apple pie spice
2 t lemon juice
1 t honey or agave
1 t buttermilk
1/2 t vanilla extract (optional)
1/2 t almond extract (optional)

     Also:
1 C granulated sugar
1 C powdered sugar


Directions:

~  after soaking & using the apple slices from the marinade mixture, heat the liquid in a small sauce pan on the stove until it comes to a rolling boil. Allow to boil for about a minute & then reduce to a simmer for just a moment, then remove from heat. Stir it up.
OR
You can have liquid in a microwave-safe bowl, and heat the liquid on highest power for about 1 & a half to 2 minutes. Remove from the microwave & stir.

~ Add in the granulated & powdered sugar until completely mixed.

~ Once cake is completely cooled, drizzle the glaze over the cake.

~ Top it with a shimmy-shake of powdered sugar

NOTE: You can also keep glaze on the side to top off 1 piece at at time as it's served

~~~~~~~~~~

I plan to be making this on St. Patrick's Day again, too. Plus I'm looking forward to fixing up another Irish feast. Stay tuned for some of the other dishes! (check out my Irish fare HERE)

Hope this helps you in planning & inspiration, too!

ENJOY!

Thursday, February 20, 2014

Hot Chocolate Cool Whip Cookies

There's not a lot of back story to these cookies...

I was browsing Pintrest & found a lot of recipes for Cool Whip Cookies. Most of them were strawberry or lemon, but several said you could use any flavor.

As I got looking at what I had in the pantry to use...this is what I did:

~~~~~~~~~~


HOT CHOCOLATE COOL WHIP COOKIES


Ingredients:

~ 1 box hot chocolate cake mix (or a light chocolate flavor)
~ 1 8 oz. container Cool Whip (or whipped topping)
~ 1 egg
~ powdered sugar

~ optional 1/2 cup dehydrated mini marshmallows if using light chocolate cake mix


Directions:

* Preheat oven to 350 degrees F

* in a mixing bowl, pour in the cake mix, , the marshmallows (if using), the whipped topping & the egg; mix all together very well

* in a separate bowl (I suggest one with a lid), pour in some powdered sugar

* with a spoon, scoop out about a 1 to 1 & half inch blob of batter & place it in the powdered sugar bowl; cover the batter blob with the powdered sugar

* on a lightly greased or parchment paper-lined cookie sheet, place each powdered blob on the cookie sheet, about 2 inches apart

* place in the oven for about 10-12 minutes (original recipe I used called for 8-10...but 12 worked great for these)

* when time is up, pull the cookies out & allow to rest for about 5 minutes then may CAREFULLY move to cooling rack for a few more minutes; COOKIES WILL BE VERY SOFT


Yield: about 2 dozen

~~~~~~~~~~


If you eat them while they are warm...they are SO good!! If you eat them later...they are SO good!

These will probably be the easiest cookies you will ever make! They are soft, light & delicious!

The cake mix I used was a hot chocolate cake mix that already had the marshmallows in it. If you use a light chocolate flavored mix & don't want the marshmallows, then that is fine.

I tested these with strawberry & white chocolate chips. Since it was my first time to mess with the recipe, I made the blobs too big, I was apparently out of powdered sugar & used granulated sugar to coat the cookies with, and I used the 8-10 minute time frame. The cookies came out falling apart, big & piecey...but they tasted like a strawberry milkshake! My hubby couldn't get enough of them! But he said the white chocolate chips weren't needed...I liked 'em, but whatever...

Now the hot chocolate ones have a bit of chocolate milkshake kind of taste when cooled down, too.

Oh! And now that the powdered sugar is in the storable container...you can use it for the other flavors you might want to make...

Now, I may be addicted to making these in all kinds of flavors...I want to try lemon lavender soon...

...did I mention they are very soft?

ENJOY!